Showing 1 to 6 of 245 blog posts tagged with "django".
-

An introduction to Django Simple History
Django-simple-history stores Django model state on every create, update, or delete database operation Read more
February 13, 2023 -

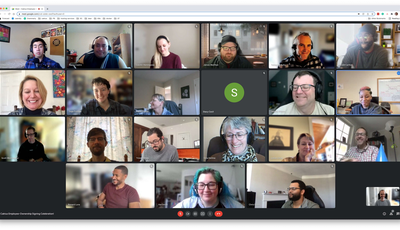
Reflection on DjangoCon 2022
I found several of the talks and subjects interesting, but the best part by far was the people behind the stories. Read more
January 6, 2023 -
Meet the New Owners of Caktus
Nearly every week, I receive an email or two from a third party expressing interest in buying Caktus. As a matter of habit, I don't open them, let alone respond. Most are scatt... Read more
January 14, 2022 -

How Django Got Its Name
Pictured: From left to right, musicians Sebastian Peszko, Francisco Batista, and Filippo Dall'Asta in Berlin, Germany. In early November, my husband and I celebrated a friend’s ... Read more
November 19, 2021 -

DjangoCon is Back and Free of Charge
We’ve waited eagerly for DjangoCon 2021 since last year’s event was cancelled due to COVID-19. Not only is the event back, but it’s free to attend! DjangoCon will take place vir... Read more
October 8, 2021 -
How to Use Celery for Scheduling Tasks
There are multiple ways to schedule tasks in your Django app, but there are some advantages to using Celery. It’s supported, scales well, and works nicely with Django. Given it... Read more
August 11, 2021


